Photobucket Photobucket Photobucket Photobucket

Wednesday, May 30, 2012

Re-Upholstering a Wing Back Chair, Part 1: Taking it Apart

Since I'm declaring the rest of this week "Re-Upholstery Week," let's get on with it already!

I should give a little disclaimer here. This is based on my experience in re-upholstery. I am in no way an expert, I just like to tackle projects and figure them out as I go. I did reference a lot of other blogs (I'll share those with you later on) and they helped me tremendously to figure out where to start and what to do next. 

First up is taking the beast apart. This is the fun part and probably the easier part. Who doesn't love demolishing things and taking them apart?

 STEP 1: BUY YOUR FABRIC 
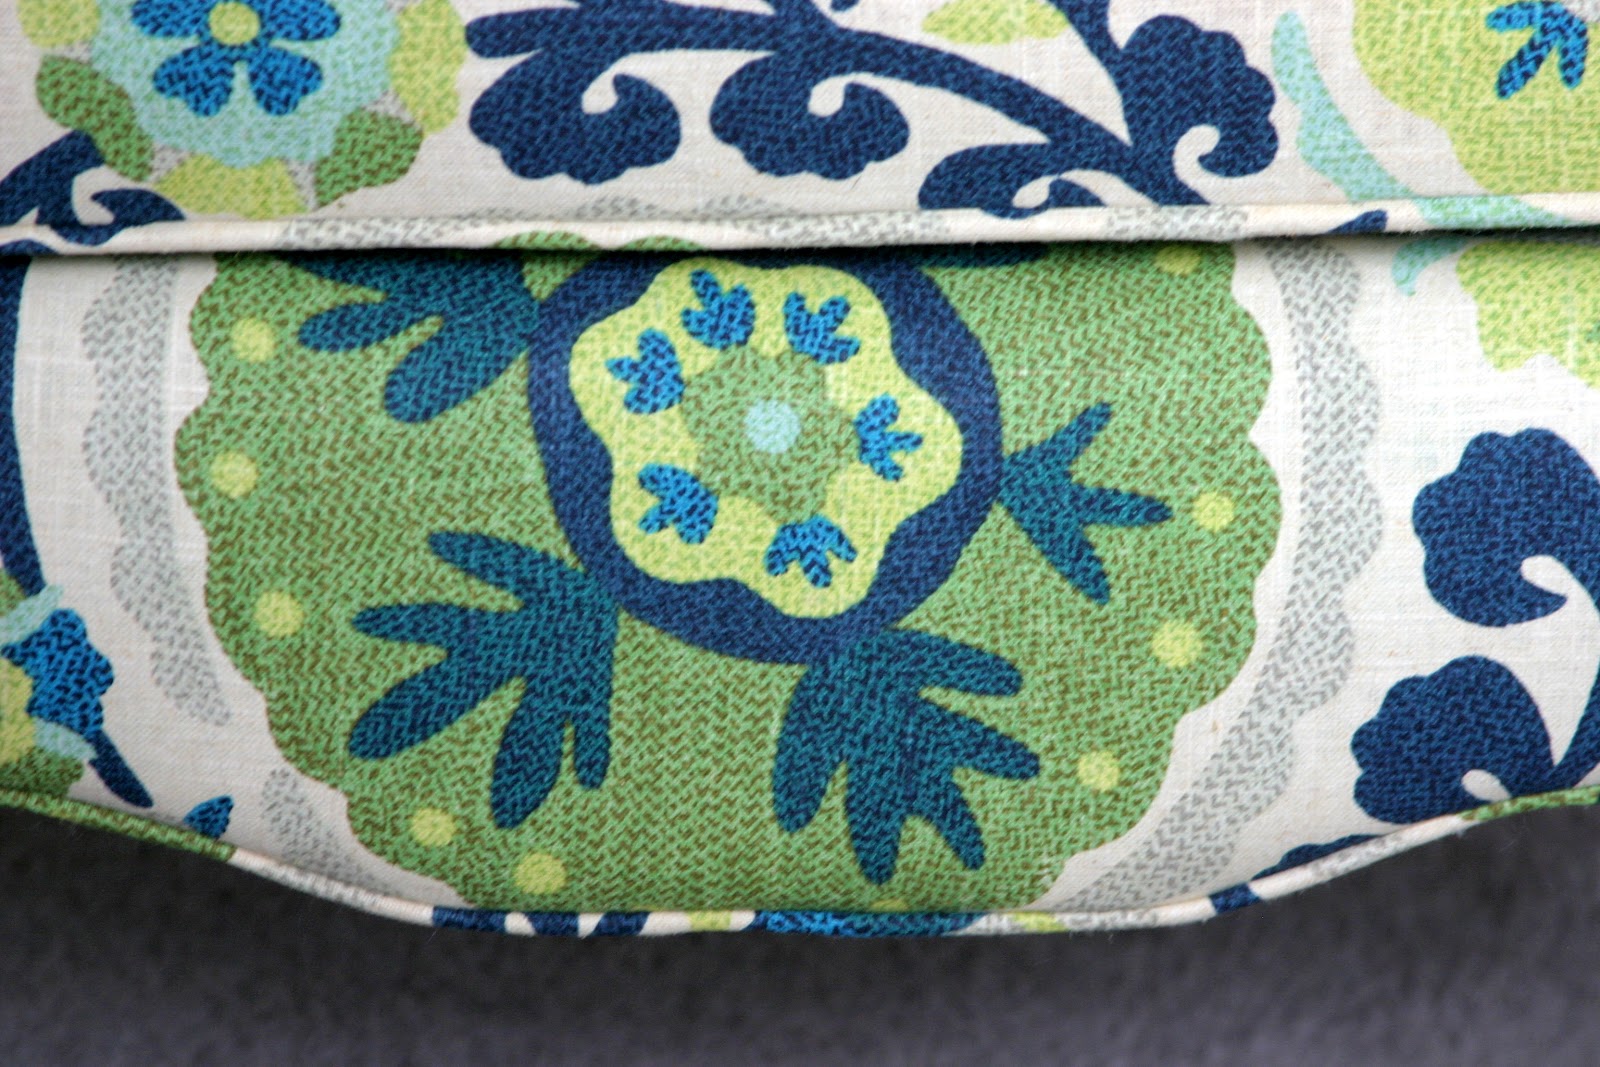
Remember this post about how I chose my fabric? That was probably the hardest part! :) I think it's easiest to choose a busy print with no certain direction so it's easier to line up the pattern (for instance, if you used stripes you'd have to make sure every line matched up or it would be totally noticeable). The guide in the post is really helpful in deciding how much fabric you will need, too.

 STEP 2: TAKE LOTS OF PICTURES 
The best piece of advice I can give you for the entire re-upholstery process is to take lots of pictures. Take pictures before you take it apart. Take pictures while you take it apart. This is really important because at least in my case, the pictures acted as my guide to putting the chair back together. Get all the weird angles and funky seams photographed because believe me, you will forget by the time you put it back together!


 STEP 3: GATHER YOUR SUPPLIES 


You'll need these supplies at one point or another throughout the whole process. To start, you'll primarily need the pliers, a screwdriver, masking tape, and a sharpie (or other writing utensil).

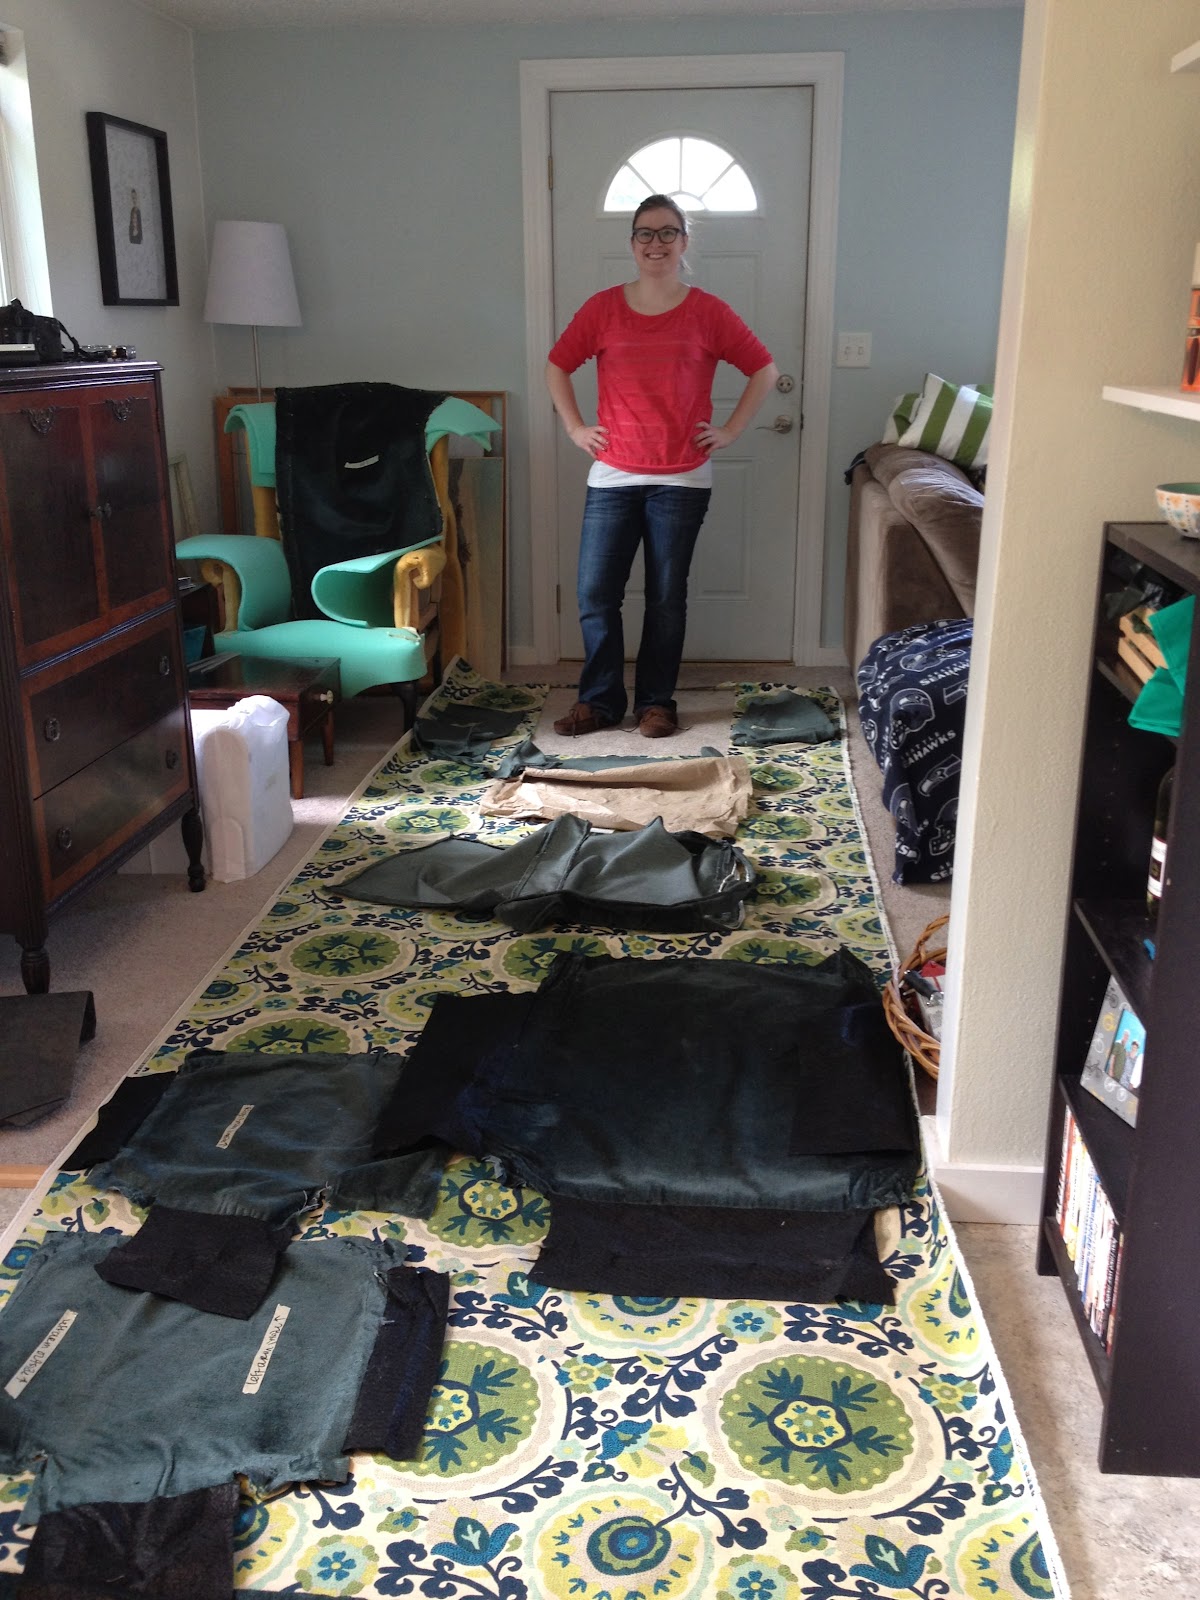
 STEP 4: TAKE IT APART! (AND TAKE NOTES) 

Along with taking pictures, I would say take good notes too. At least write down what order you took each piece (or section) off in, that way when you put it back together you just need to reverse the order.

Find the top layer (the last piece that was put on) and start peeling it away (very carefully, of course - we're dealing with staples here!). With this chair, it was the back piece that came first (actually, I guess it was the bottom piece if we get technical). It's actually really fascinating to see how a chair is made and put together (and kind of shocking how my chair at least was so piece-meal). Buster really wanted to help out too. :)

As far as how we took it apart, our method consisted of prying the staples off the chair with the flat head screwdriver, then using the pliers when needed to get the full staple out (sorry I don't have a better picture). Oh, and don't forget the muscle! :)

After we took each piece apart, I labeled each piece with masking tape which side and where it belonged on the chair. This was also really helpful when we went to put it back together.


OK, I think you get the picture. Lots and lots of pictures. Take them. Trust me, you'll be glad you did!

Taking the chair apart is probably the most important part of the process because it's how you learn how to put the chair back together. You know, Humpty Dumpty style.

Tomorrow we'll put this baby back together!

Before + After: The Wing Back Lady

The day has finally come! After looking at this lady for months and months in all her teal glory, I finally made the change and she has blossomed into the wing back lady she was meant to be!

First, let's look back at where we started - my $25 Craigslist find with worn down padding under that well used teal fabric. 

Without further ado, allow me to introduce you to the new and improved Wing Back Lady!

What do you think? A complete 180 right? I am so happy with how she turned out! She was definitely a labor of love and I couldn't have done it without the help of my amazing mom (she did all the sewing/piping) and of course, the husband, too (he helped some with the stapling). :) Thank you guys for helping out! If I didn't have them to help me, it would have taken me a couple more days on my own. As it was, the project took us probably around 18 man hours (that includes my mom sewing while I was cutting - double time, basically). 

Here's how the progress went down (in pictures). Full tutorial to come...


I'm declaring the rest of this week "Re-Upholstery Week" here on the blog. It's kind of like Shark Week, but way more intense and suspenseful. Get ready, people! I'll be doing a series of tutorials on how I re-upholstered the Wing Back Lady! Exciting, right?!

Let's talk about the Benjamin's, shall we? Here's a breakdown of the total cost:

Chair - $25
Fabric - $98.97
Foam - $12.50
Spray Paint - $0 (already owned, but would be about $5)
Staples - $4
Total Cost - $140.47

I'd say that's a pretty good price, wouldn't you? Some of my anthropologie inspiration chairs (remember this post?) range anywhere from a few hundred dollars to (gasp!) $1,900!!! Yeah... that's definitely not in my medical school budget. But $140 + a little bit of blood, sweat and tears laughter? Yes, please!

More to come with a ton of pictures and some major how-to. Leave a comment and let me know what you think!

Tuesday, May 29, 2012

Chair Update

Hello friends! I'm exhausted... so glad I took today off of work because I needed an extra day to recover! Good news... we finished the chair! Bad news... I can't share it with you just yet. I'm working on uploading all the photos and putting together some kind of tutorial, so more to come tomorrow! For now, here's a little teaser.

And this is about how I feel right now...

I hope you all had a nice and relaxing Memorial Day Weekend! 

Monday, May 28, 2012

French Press

A week or two ago our coffee maker broke. I think everyone on the planet can identify with us in knowing how much that sucks. I may have had to get Starbucks every day last week... 

Husband came to the rescue and ordered us a French Press. I had never used one before and was a little apprehensive at first, but I'm slowly realizing how yummy it is! Just as good as brewed coffee for sure. The only down side is that it takes a little more time and attention than a regular coffee maker. First you have to ground the beans, then boil the water, next is letting it seep for five minutes, then you strain it, then you go milk a cow to get the cream. Just kidding. Not too bad, but you can't just walk away and leave it be. There is a little more involved.


OK, be honest. Am I the last person to try french press coffee? Well, I'm sold now. Especially since I also discovered my new favorite treat for summer... iced coffee! I'm probably the last person to jump on this too... It's just so refreshing. The secret is to use "simple syrup" (found here) and a little half and half. It's so good! 

What are your favorite summer treats/refreshments? Are you a french press or a coffee maker? 

Friday, May 25, 2012

Happy Weekend!


What are your plans for the long weekend? Zach will be studying (two weeks to go until board exams!) and I will be attacking some fun projects (namely, my wing back lady!) and possibly doing a little shopping (bring on the sales!).

Have a great weekend!

(source)

Thursday, May 24, 2012

Date Night: The Berliner + A New Column!


During tax season especially, date nights became a huge part of our relationship (in fact - sad to say - it was one of the only fun interactions the husband and I had each week... yay for taxes...). To me, it's really important to get out of the house, have some good food, and connect with each other during the week. It's so easy to get in the same routine, watch the same shows, surf the web every night (or work late, study, etc.) and you eventually realize while you are together and sitting right next to each other, you're not really interacting.

I loved the time we spent together eating out each week because we were able to have an actual conversation and reconnect. Honestly, it's what helped me make it through each week and get through tax season. We also made it a point to eat at a bunch of different and new places to keep it interesting.

So... (drum roll please)... today is the start of a new column here on make bake & love! Are you excited?! I sure am! I'm calling it Date Night and with this weekly (or bi-weekly) column I want highlight some of the yummy/cool/fun places me and the hubs check out on our weekly date nights. Fun, right?

First up is The Berliner. This has quickly become one of our favorite spots in Renton. The Berliner Pub is a German pub in downtown Renton that feels like authentic Germany right when you walk in. Dark wood, a huge fireplace and long tables with benches set the mood for a laid back European pub. Soccer is always on the big screen (don't worry, WA sports are on there too). Overall, I love the vibe of the place. The waitresses even wear traditional drundels!


Our favorite thing on the menu is the Brätzel (or pretzel, and yes I just googled how to type an umlaut). The thing is the biggest pretzel I've seen and it comes out warm and soft and so delicious. It comes with two types of mustard and I would recommend asking for cheese too (cream cheese). During happy hour it's only $5, which is more than enough food! They also have delicious curry fries (fries with curry ketchup) and the currywurst is good too. I don't think you can go wrong and for "pub food" it is really good. Here's the yelp reviews. Oh and don't forget all the German beers! All imported and the couple we've tried are great.

All this talk about German food reminded me that I never posted about our trip last summer to Germany! I need to get on that! Stay tuned...

What about you guys? Do you do a weekly date night? Monthly? Do you have a usual spot, or do you try a bunch of different places?

Wednesday, May 23, 2012

Mr. Dresser Needs Deodorant

I inherited a dresser from my mom (don't worry, my Mama's fine!) when we went to Portland last weekend. It was my Mom's grandparent's dresser and it a big old sturdy piece of furniture. It's pretty masculine (which I like) and is this beautiful deep dark brown/cherry color, with some lighter wood accents. The dresser is unique because the top three drawers are actually inside swing out doors. It's kind of cool and I like how it makes it different. We'll see if it's actually practical... but I think it might be a nice change. 


The drawers are a little stiff and it smells pretty bad like mothballs (yuck!), which is one of the reasons why I need your help! I've searched around online a bit to see if there is an easy way to get out the mothball smell (honestly, I don't know why you would ever use them unless you had a really bad moth/rat problem...) and what I found was 

1) fresh air 
2) MaryEllen's Atmosklear or Smelleze® Mothball Deodorizer Pouch 
3) vinegar and/or coffee (from here). 

Do you have any advice? Please help! I just want the smell to be gone, especially since I will most likely be using this bad boy for my everyday clothes. I do not  want to be smelling like mothballs everyday. Nothankyou.

Here's some more shots to see what the inside is like now. I might put some new liners in there. 


Just in case anyone was wondering... this is how it went down... (Yvonne is my Mama, Hallie is my Gma).

I also love all the little details like the little banner on the outside of the swing doors, the vintage handles and the two toned wood. I'm not planning on doing any painting or even refinishing in the near future. Not just yet. I really want to preserve the integrity of the piece. It's too pretty! Unless the mothball smell doesn't leave. Then I might have to see if paint will cover it. :)

Don't you love old furniture? I do! There's just so much history and style from back in the day. So cliche... but they really don't make them like they used to. 

Don't forget to leave a comment if you have any advice for de-mothballing this guy. I really appreciate it! 

Tuesday, May 22, 2012

Polished

Everyone has bad habits, right? You know you do. Don't deny it. My bad habit is was chewing my nails. But I've finally kicked it! Kicked it straight to the curb. I'm pretty proud of myself (pat on the back). 

Now that I can, I have had so much fun getting manicures and keeping my nails polished. So far, I've tried a bunch of different colors. In fact, every week a different color! Black, gray, nude, mint, jade, pink. I'm a little obsessed. 

I'm really excited this summer to try some new colors! Maybe some brights or neons since they are so in right now. I saw this pack at Kate Spade and almost bought it... love the color combo. Perfect for summer.

I also really want to try navy... not as harsh as black (even though I loved having black). I went to seek out other fun summer colors and it seems like I just have Kate Spade colors on the brain. They're just so bright and fun! I can't wait to try some... especially the coral.
Summer Polish
What colors have you been sporting lately? Do you like to take risks with polish (neon yellow? bright green?), or are you more on the safe side (nude? classic red?)? Do tell!

(clockwise from top) Jacob - Coral, $6 / Jacob - Sunny Capri, $6 / Butter London - Disco Biscuit, $14 / Butter London - Primrose, 17 CAD / Essie - Poppy, $8 / J Crew - Mint, $10

LinkWithin

Related Posts Plugin for WordPress, Blogger...